Custom-shape labels on easy-peel sheets, made for small batches you apply by hand. Need thousands? Try our Die Cut Labels on rolls.
Overview
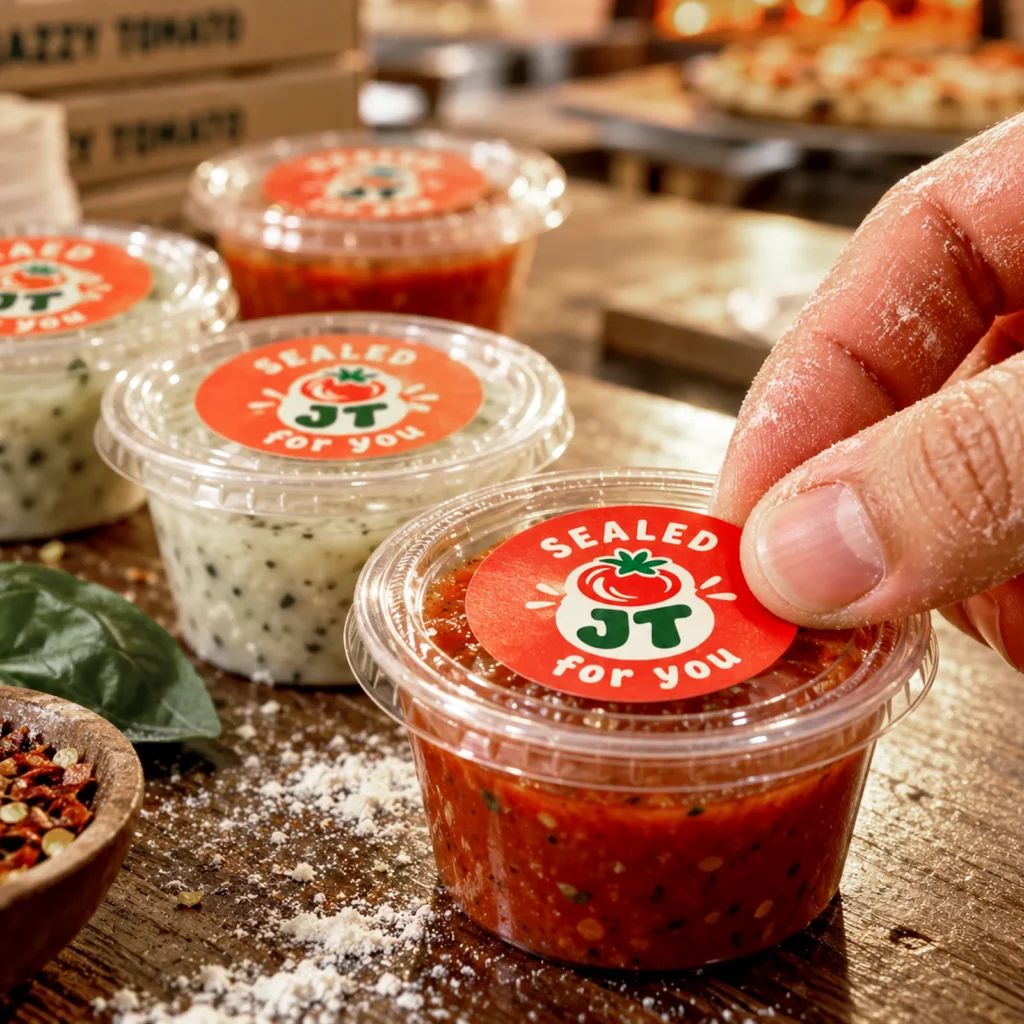
Custom die cut sheet labels follow the shape of your design, so your logo, fruit, cup or character becomes the label itself. Each shape is printed in full color and cut on sheets, ready to peel and apply by hand.
Choose a 4″ × 6″, 8.5″ × 11″ or 11″ × 17″ sheet, or a custom sheet from 4″ to 36″, and fit as many shapes as your layout allows. Order any quantity from 50 to 1,000 sheets. Die cut labels make small-batch packaging look custom-made: jars, bottles, gift boxes, coffee bags and bakery boxes all stand out with a shape that is unmistakably yours.
Design tip: die cut shapes look best with a smooth outline and no thin points that could tear. Leave a small border around your artwork so the cut line stays clean. Our free artwork review checks the cut line on every file before anything prints.
Upload your artwork with its cut line and we review it for free, then send an online proof before printing. Need thousands? See our die cut roll labels or browse all custom labels.
Details
Format – Die cut shapes printed on sheets
Sheet sizes – 4″ × 6″, 8.5″ × 11″, 11″ × 17″, or custom from 4″ to 36″
Quantities – From 50 to 1,000 sheets
Uses – Product packaging, jars, bottles, boxes and bags
Artwork
File types – PDF (preferred), AI, EPS, PSD, TIFF, PNG or JPG. ZIP for multiple files.
Best quality – Vector files, or images at 300 dpi at final size
Free setup – We review your file and send a proof before printing
Production & Shipping
Proof – Free digital proof before printing. Request changes until you are happy.
Production – Ships in 4 business days after you approve your proof.
Shipping – Free shipping on orders over $99
From $90
Ships in 4 days
Free shipping on orders over $99.
Free online proof
We send a digital proof before printing. Request changes until you are happy.
Shapes on sheets
Your shape on flat sheets. Easy to store and apply by hand in small batches.
Share the ideaYour logo, a few references or just a rough sketch.
02
We design itPrint-ready artwork, sized for the product you need.
03
Approve, then printYou review a proof. Nothing prints until you say yes.
Stickers · Labels · Apparel · Signs
Design request
Tell us what you have in mind.
A few details are all we need. We will review your request and come back with next steps.
Welcome offer
$10 OFF
Your first order just got better.
$10 off custom stickers & labels — drop your email and we’ll send your code.
Orders $50+ · One use per customer · No spam, ever.
Size help · Labels
Find the label that fits your package.
You don't have to be exact. Pick the closest size. Your free proof shows the exact dimensions before anything prints, and you can ask for changes until it fits right.
How we measure
RoundThe diameter, edge to edge through the center.Rectangle & squareWidth × height. 2″ × 3″ means 2″ wide, 3″ tall.Die cutThe square your shape fits in. A 2″ × 3″ shape uses "up to 3″ × 3″".Sheet labelsThe size of the whole sheet. We fit as many labels as your design allows.
Quick picks by container
2″ circle
Regular-mouth jar lids (2.75″), sauce cups, cookie bags
3″ circle
Wide-mouth jar lids (3.38″), deli container lids, bakery and takeout boxes
2″ × 3″
Hot sauce and dressing bottles, small jars, spice tins
3″ × 3″
Pint jars, candles, sauce jars, bags of granola or nuts
3″ × 4″
Coffee bags, olive oil and wine bottles, meal-prep containers
4″ × 6″
Shipping and catering boxes, large bags, menus and ingredient panels
Fridge, freezer and ice? Our roll labels are waterproof BOPP. Apply them to a clean, dry, room-temperature surface and give the adhesive 24 hours before it goes cold or wet.
On clear labels, light colors and white look see-through. Bold, dark designs read best on glass and clear plastic, and the product inside becomes your background.
Measure the flat part only. Labels sit best where the container is flat or evenly round. Skip the neck, the shoulder, the bottom curve and any ridges.
Three steps with a ruler
Find the label panel. Measure the height of the flat or straight section where the label will go.
Leave a little room. Take off at least 1/8″ at the top and at the bottom. A label that touches a curve or ridge will wrinkle or lift.
Check the width. On a flat side, take 1/8″ off each edge. On a round container, a front label should cover about a third of the way around so it stays flat and readable.
Wrapping all the way around?
Measure the distance around the container with a strip of paper or a soft tape, or multiply the diameter by 3.14. Take off 1/8″ to 1/4″ so the two ends don't overlap and lift. If your wrap size isn't in our list, tell us in the order notes and we'll quote it.
Is it tapered?
Stand the container next to a ruler on a flat table. If you see a gap along the side, it's tapered or curved, and a straight rectangle may wrinkle. Round labels and narrower rectangles are the safe choice; for anything unusual, send us a photo with your order.
Easiest route: upload your design as it is. We set it up, add the cut line and show everything on your free proof.
Anatomy of a print-ready label
Bleed · 1/8″ outside the cut.Extend background colors past the edge so no white line shows after cutting.
Cut line · the finished edge.Rectangles and circles: we add it. Die cut: we create it, or send your own CutContour layer.
Safe zone · 1/8″ inside the cut.Keep text, logos, barcodes and anything important inside this line.
Small type that stays readable
6 pt
Minimum for any text. Ingredient lists and fine print shouldn't go below this.
0.5 pt
Thinnest line that prints cleanly. Use 1 pt for borders.
Barcodes
Keep them at 100% size, black on white, and at least 1/8″ from the edge.
Selling packaged food? Nutrition facts, net weight and ingredient panels have federal minimum type sizes. We print exactly what you send, so check FDA labeling rules for your product before you order.
Before you upload
Vector file (PDF, AI, EPS or SVG), or images at 300 dpi at final size
CMYK color mode, fonts converted to outlines
1/8″ bleed on designs with color to the edge
Nothing important closer than 1/8″ to the edge
Die cut: one closed CutContour path on its own layer (see Stickers › Prepare your file)
Still not sure? Every order includes a free proof, and a real person reviews your file.